Introduction
Five-axis machining represents the pinnacle of CNC capability, but owning a 5-axis machine doesn't automatically translate to maximum productivity. The difference between shops that struggle to justify their investment and those that run circles around the competition often comes down to technique—not equipment.
After talking with dozens of high-performing job shops and production facilities, we've identified the shortcuts and strategies that separate the pros from the pack. These aren't theoretical concepts pulled from textbooks. They're battle-tested techniques that working machinists use every day to slash cycle times, improve surface finishes, and take on work their competitors can't touch.
Whether you're new to 5-axis or looking to squeeze more performance from your existing setup, these five techniques will help you work smarter and more profitably.
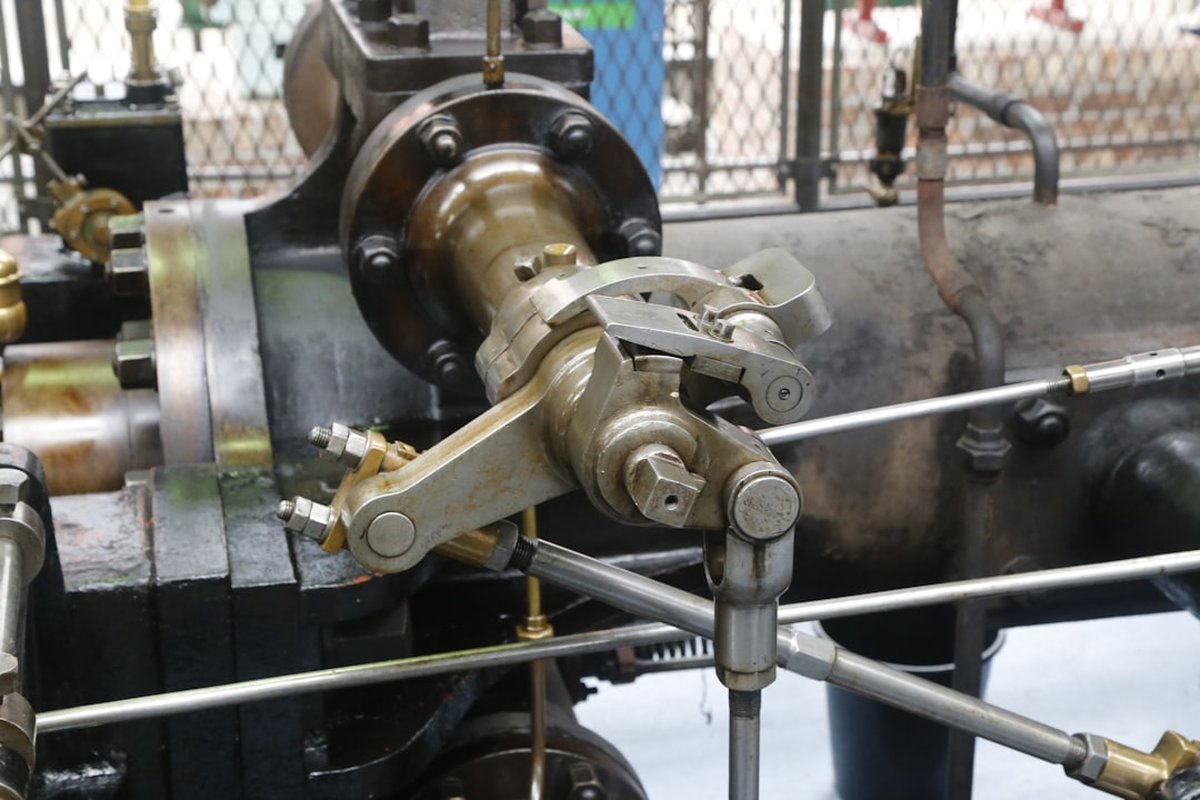
Photo by Chris Boyer on Unsplash
1. Master 3+2 Positioning Before Going Full Simultaneous
Here's a secret most 5-axis newcomers don't realize: the majority of work done on 5-axis machines doesn't actually require simultaneous 5-axis motion. Pro shops know that 3+2 positioning (also called indexed 5-axis machining) handles 70-80% of their complex work with far less programming complexity and risk.
In 3+2 machining, the rotary axes lock into a fixed position while the machine cuts using only the three linear axes. This approach gives you access to multiple faces of a workpiece in a single setup without the CAM complexity of true simultaneous motion. The result? Faster programming, more rigid cutting conditions, and fewer crashes during prove-out.
Mastercam's documentation emphasizes that 3+2 strategies often produce better surface finishes on flat and ruled surfaces because the tool maintains a consistent orientation throughout the cut. Save full simultaneous motion for what it does best: true sculptured surfaces, undercuts, and complex blends where indexed positions simply can't reach.
2. Use Toolpath Tilting to Extend Tool Life
One of the most underutilized 5-axis techniques involves tilting the tool slightly off-vertical during cutting—even when the geometry doesn't require it. This strategy, sometimes called lead/lag angle optimization, dramatically improves cutting conditions and tool life.
When a ball end mill cuts straight down (perpendicular to the surface), the tool's center moves at zero surface speed. This dead zone creates rubbing instead of cutting, generates heat, and accelerates wear. By tilting the tool just 10-15 degrees, you move the cutting action away from the tool tip and onto the more efficient flute geometry.
Pro shops report tool life improvements of 30-50% using this technique, along with noticeably better surface finishes. Most modern CAM systems, including Fusion 360 and CATIA, offer automatic tilt angle settings in their 5-axis toolpath strategies. The key is understanding when to apply tilt and how much angle your specific setup can tolerate without creating gouges or collisions.
Setting Up Tool Tilt Correctly:
- Start with a 10-degree lead angle for finishing passes
- Use your CAM's gouge checking religiously
- Test on scrap material before production runs
- Watch for chatter—excessive tilt can reduce rigidity
- Document optimal angles for recurring part families
3. Consolidate Setups with Creative Workholding
The real magic of 5-axis machining isn't cutting complex curves—it's eliminating setups. Every time you unclamp a part, flip it, and re-indicate, you're burning time and introducing error. Pro shops obsess over workholding strategies that maximize spindle uptime.
Dovetail fixtures have become a go-to solution for many high-mix shops. The process works like this: machine a dovetail feature into raw stock during the first operation, then flip the part into a matching dovetail holder that grips the part securely while exposing maximum surface area. Companies like Lang Technik have built entire product lines around this concept.
Another pro move: tombstone fixtures with zero-point clamping. By mounting multiple parts on a tombstone and using a zero-point system (like Jergens Ball Lock or Schunk VERO-S), you can load parts offline while the machine runs. When a cycle finishes, the swap takes seconds instead of minutes.
The upfront investment in quality workholding pays dividends on every single job. Shops that master fixturing routinely complete in one setup what takes competitors three or four.
- Eliminates datum shift between operations
- Reduces total floor-to-floor time by 50%+
- Enables lights-out production on complex parts
- Improves geometric accuracy across features
- Requires upfront investment in fixturing
- Dovetail features consume extra stock material
- May need custom fixtures for unusual geometries
4. Leverage Barrel Cutters for Dramatic Cycle Time Reductions
If you're still finishing complex surfaces with ball end mills exclusively, you're leaving massive time savings on the table. Barrel cutters (also called circle segment or lens cutters) represent one of the biggest advancements in 5-axis finishing strategy over the past decade.
A barrel cutter features a curved cutting edge with a much larger effective radius than its shank diameter would suggest. Where a 1/2" ball end mill has a 0.250" radius, a barrel cutter of similar size might have an effective cutting radius of 2" or more. This larger radius means each stepover covers far more surface area while maintaining the same cusp height.
The results speak for themselves: aerospace shops regularly report finishing time reductions of 70-90% on sculptured surfaces when switching from ball end mills to barrel cutters. Emuge-Franken and Sandvik Coromant both offer extensive barrel cutter lines designed specifically for 5-axis applications.
The catch? Your CAM system must support barrel cutter geometry, and programming takes some learning. But for shops doing significant surface finishing work, the productivity gains justify the investment many times over.
When we switched to barrel cutters on our turbine blade finishing, cycle times dropped from 45 minutes to under 8 minutes per blade. Same surface finish spec, dramatically less machine time.
5. Simulate Everything—Including Your Operator
Five-axis crashes are expensive and terrifying. Between replacement spindles, tool holders, fixtures, and scrapped parts, a single collision can easily cost $20,000 or more—plus the downtime while waiting for repairs. Pro shops treat simulation as non-negotiable insurance.
But here's what separates good shops from great ones: they simulate the entire machine envelope, not just the toolpath. Software like Vericut and NC Simul can model your exact machine configuration, including the spindle head, rotary table, fixtures, clamps, and even the raw stock at each stage of machining.
The pros also build setup sheets and operation videos that show exactly how parts should be loaded. The best simulation in the world won't prevent a crash if an operator loads a part backwards or forgets to remove a clamp. Some shops record screen-capture videos of their simulations and post them at the machine for operator reference.
Finally, keep your simulation models updated. That new vise you bought? Add it to the library. The longer fixture you made for a special job? Model it. Simulation is only as good as the virtual environment it's checking against.
-
Check spindle head geometry, table size, and axis limits
-
Don't forget toe clamps, parallels, and soft jaws
-
Most collisions happen during rapid moves
-
Your A and B axes have limits—make sure the program respects them
-
Fresh eyes catch things programmers miss
Bonus Tip: Build a Library of Proven Post Processors
Your CAM software doesn't speak G-code natively—it relies on a post processor to translate toolpaths into the specific dialect your machine controller understands. For 5-axis work, post processor quality is critical.
A poorly configured post can output unsafe rapids, incorrect rotary axis commands, or G-code that technically runs but produces inferior results. Pro shops invest time in tuning their posts for each machine-controller combination and then protect those files like gold.
Work with your CAM vendor or a qualified post processor specialist to ensure your posts handle all the edge cases: RTCP (Rotary Tool Center Point) compensation, inverse time feed rates, safe retract moves during axis reorientation, and proper handling of your machine's specific kinematics. Document what each post is designed for and version-control your changes.
When your post works perfectly, 5-axis programming becomes predictable. When it doesn't, you'll spend hours troubleshooting problems that have nothing to do with your actual toolpaths.
Conclusion
Five-axis machining rewards those who invest in technique, not just technology. The shortcuts outlined here—mastering 3+2 positioning, optimizing tool tilt angles, consolidating setups with smart workholding, adopting barrel cutters, and simulating religiously—represent the collective wisdom of shops that have turned their 5-axis investments into competitive advantages.
Start with one technique and master it before moving to the next. Track your results: setup times, cycle times, tool costs, and scrap rates. The numbers will prove what the pros already know—working smarter on a 5-axis machine pays off faster than almost any other improvement you can make in your shop.
Looking to dive deeper into CNC efficiency strategies? Explore our complete guide to CNC machining best practices for more ways to boost your shop's productivity and profitability.
Ready to Upgrade Your 5-Axis Game?
Subscribe to Trade Fab for weekly tips on CNC machining, fabrication techniques, and shop management strategies delivered straight to your inbox.
Subscribe Now
Comments
No comments yet. Be the first to comment!
Leave a Comment