When you finish, the weld will be flush and the surface will match the parent metal. Any tint you did raise will be removed along with the chromium-depleted layer beneath it. Expect each joint to take somewhat longer than a dry knockdown on mild steel, because the method relies on short passes with pauses between them. Before you start, understand that blue or brown on stainless is a corrosion problem, not a cosmetic one. According to TWI, the colored scale is chromium-rich and the metal under it is chromium-depleted. TWI reports that heat tint can lower the critical pitting temperature of 316 from 60°C to 40°C in 0.1% NaCl.

Walter Enduro-Flex™ Stainless Flap Disc, Ceramic Abrasive, 4-1/2" X 7/8" Grit 80, …

What you need
-
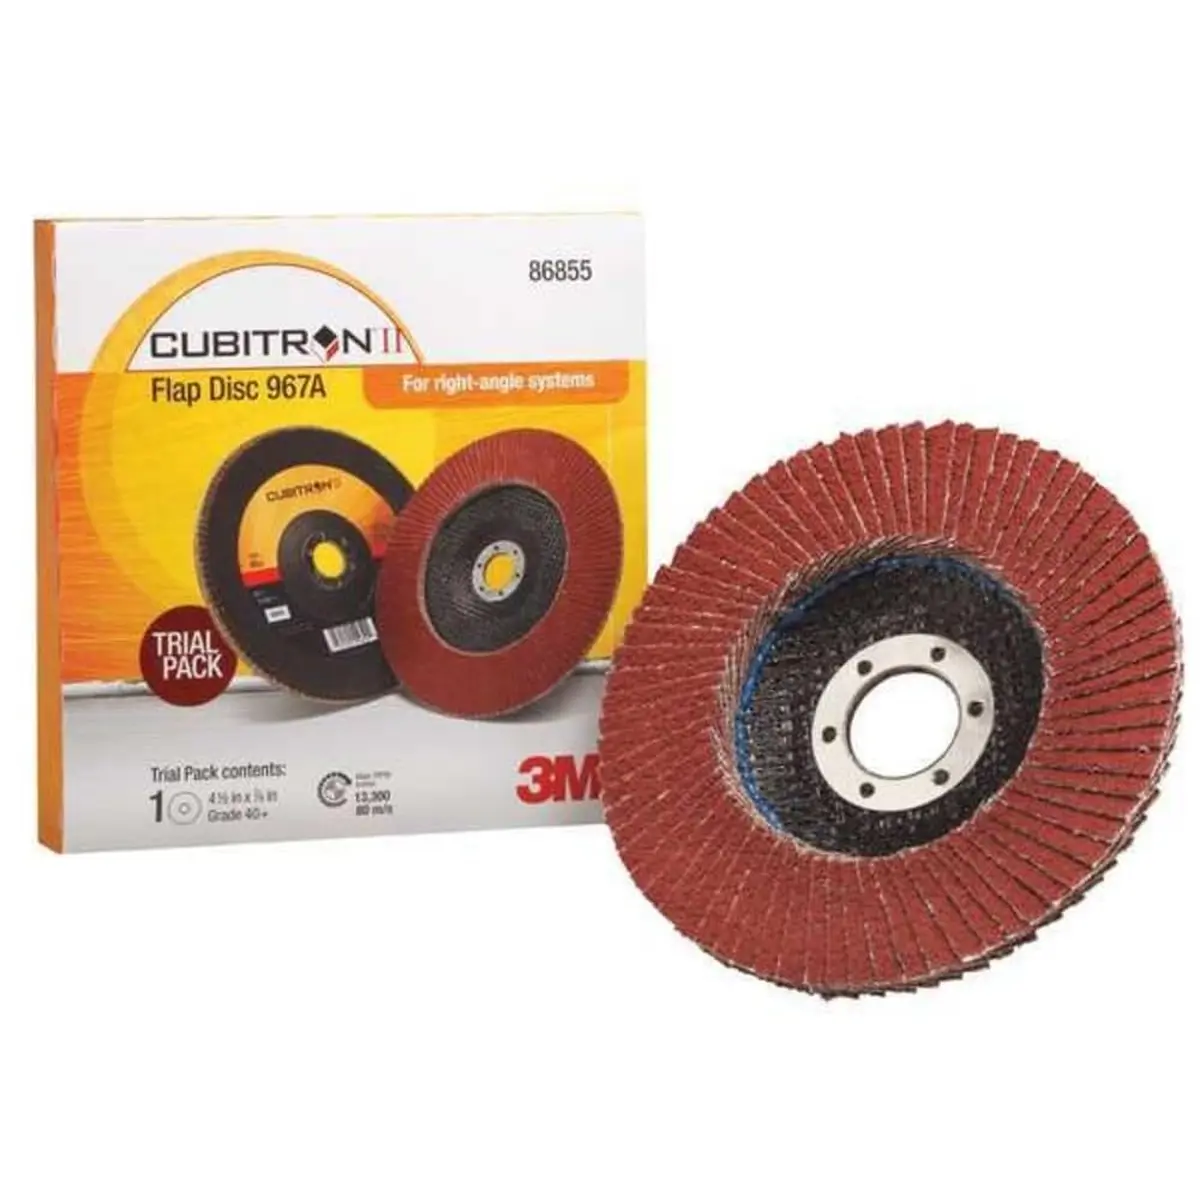
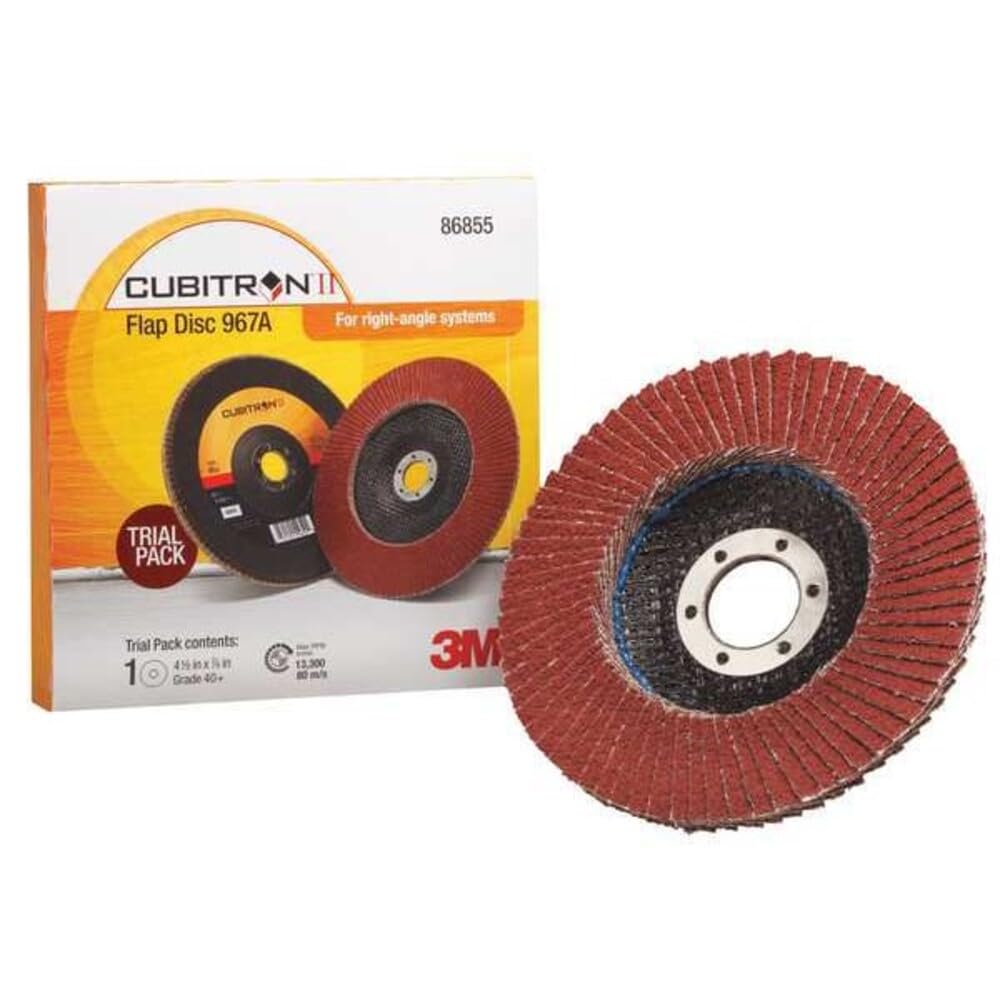
Ceramic flap discs labeled 'for stainless' or 'INOX', type 27, fiberglass backing, in 60, 80 and 120 grit
JKINGS Tools, an abrasives maker, says these labels indicate an iron-free formulation and that ceramic cuts cooler than zirconia. The cost and the trade-offs are covered in [ceramic versus zirconia grain](/zirconia-vs-ceramic-flap-discs/).
-
A variable-speed angle grinder
Most of the heat control depends on being able to turn the speed down.
-
A non-woven surface conditioning disc
Norton promotes its Vortex Rapid Blend line for this step. It describes the open, flexible construction as conforming to the surface with less heat buildup than a rigid bonded wheel.
-
Abrasive at 360 grit or finer
You only need this if tint forms. It is the minimum TWI gives for removing it.
-
Pickling paste or an electrochemical weld cleaner, plus acid-rated gloves and eye protection
TWI gives the standard pickling chemistry as 10 to 15% nitric acid with 0.5 to 3% hydrofluoric acid, and describes the acids as highly toxic.
-
A water spray bottle, or a copper or aluminum block to clamp behind thin work
ATA Stainless recommends both for pulling heat out of the part.
The steps
- Mark every disc and brush in the kit as stainless-only. Do this before any of them touches mild steel. When it has worked, nothing in your hand has seen carbon steel. PushCorp's Edwin Erlbacher warns that "introducing carbon steel particles can cause rust and corrosion later."
- Set the grinder 20 to 30% below its maximum speed. That is JKINGS Tools' figure. When it has worked, the motor note is audibly lower than full speed.
- Fit the 60 grit ceramic disc. If you are removing a tall bead, Dome Abrasives starts at 24 to 36 grit, and the grit progression for weld grinding sets out the full sequence. When it has worked, the disc removes metal on contact instead of skating.
- Hold the disc at a low angle to the work. PushCorp gives 5 to 15 degrees and Dome gives 15 to 30, so stay somewhere below 30. When it has worked, the flaps meet the work across a band rather than on one edge.
- Pull the grinder toward you with light, steady pressure and keep it moving. Dome recommends the pull because it gives better control. When it has worked, the spark stream is even and no single spot stays under the disc.
- Stop after 5 to 10 seconds. That interval comes from JKINGS. ATA Stainless suggests a cooling pause every 2 to 3 passes. When it has worked, the metal just ahead of the disc is still bright.
- Cool the area with a water mist before the next burst. When it has worked, the next pass starts on cold metal.
- Repeat steps 5 to 7 until the weld is flush. When it has worked, a straightedge rocks on neither side of the joint.
- Step up to 80 grit, then 120, without skipping a grade. Dome notes that a skipped grit leaves scratches the finer grits cannot remove. When it has worked, each grit has erased the scratch pattern left by the one before it.
- Blend with the non-woven disc at the same reduced speed. When it has worked, the finish is a uniform satin with no visible tint line.
- If any straw, brown or blue appeared, refine that area to 360 grit or finer. When it has worked, the color is gone.
- Apply pickling paste or run the electrochemical cleaner over the area. TWI's removal guidance treats grinding plus pickling as the combination that removes the depleted layer.
- Rinse thoroughly. When it has worked, no residue remains on the part.
Walter Enduro-Flex Stainless Flap Disc, 80 Grit, 4-1/2 in
If it did not work
At this point the joint is flush and finished, and its corrosion resistance has been restored rather than just its appearance. If the knockdown itself is where the heat is coming from, the next decision is what goes on the grinder for that first pass. Norton recommends supersized ceramic fiber discs for stainless when heat reduction is the priority.
Should the first pass on stainless use a flap disc or a fiber disc?
This page explains how the two disc types differ in cut rate, heat and finish.
Read Flap Disc vs Fiber Disc
Comments
No comments yet. Be the first to comment!
Leave a Comment