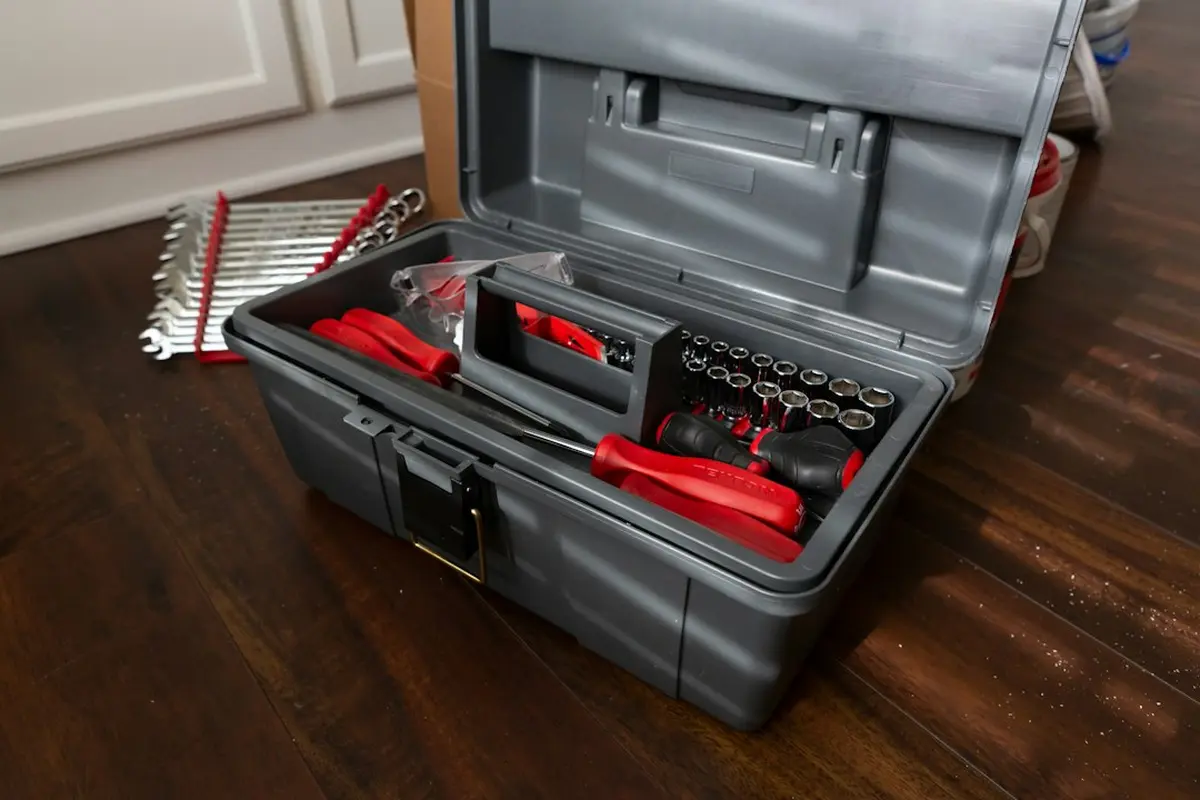
A new machinist needs fewer tools than the supplier lists suggest, and the order you buy them in matters more than the brand. You are an apprentice, a trade-school student or a hobbyist with a lathe in the garage, and you have a price-sorted page of calipers open in another tab. This page gives you the order: what to own on day one, what to add in the first months, and what can sit in a cart until the work asks for it.
Measurement decides the buying order
Brandon Fowler of Machinist Guides puts the whole subject in six words: "If you can't check it, you can't make it." Everything below follows from that. You buy the instrument that can check the tolerance you are currently being asked to hold, and you stop there until the tolerance gets tighter.
Two terms carry the rest of this page. Resolution is the smallest step an instrument reads. Accuracy is how close that reading is to the true size, and makers state it as a plus-or-minus figure. The two are not the same thing: a display can show a digit the instrument cannot back up.
The maker specs, as Machinist Guides compiled them, show the gap between the first two instruments you will own. The Mitutoyo 500-196-30 digital caliper is rated at ±0.001 inch. The Mitutoyo 103-177 and Starrett 436.1XRL-1 outside micrometers are rated at ±0.0001 inch, ten times finer.
A concrete case: a print calls out a shaft diameter to ±.005 inch. A caliper rated at ±0.001 inch leaves room to spare, so it is the right tool. The next print calls out a bearing fit in tenths. The caliper's own error is now as large as the tolerance, and you need a micrometer. That is why the caliper is a day-one purchase and the micrometer comes later.
What to buy first, in order
The sources agree on the sequence more than on the brands. Machinist Guides gives the order as calipers, then a 0 to 1 inch micrometer, then indicators, then a depth micrometer. Jonathan at Make It From Metal, who has 12 years as a working machinist, names the same two instruments as the ones worth the biggest spend: calipers and a 0 to 1 inch micrometer. Practical Machinist's staff guide to measurement makes the other half of the point. It is easy to accumulate measuring tools you do not need, and a set should be "handpicked with consideration" rather than bought in bulk.
The prices below are as listed by the source named in each cell. CNCCookbook's list carries no publication date, so read its figures as a snapshot of one retailer's page, not as current pricing. Where a cell says the sources are silent, they are.
| When | Tool | The spec that matters | Picks named in the sources | Price as listed |
|---|---|---|---|---|
| Day one | Safety glasses | Anti-fog (Make It From Metal) | No model named | Not given |
| Day one | Steel rule | Graduations you can read; a 12 in rule comes in a combination square set (Make It From Metal) | No model named | Not given |
| Day one | Caliper, 6 or 8 in | ±0.001 in accuracy; on a dial caliper, .100 in per revolution | Mitutoyo 500-196-30 (Japan); Starrett EC799A-6 (China) | About $25 entry digital (Machinist Guides); Mitutoyo Advanced Onsite Sensor 6 in $115.20 (CNCCookbook) |
| Day one | Deburring tool | Swivel blade for edges | Noga | $11 (CNCCookbook) |
| Day one | Files | A mix of cuts and shapes | Mill bastard, double cut, single cut, half-round, round, triangular, needle (Make It From Metal) | Not given |
| First months | 0 to 1 in micrometer | ±0.0001 in; ratchet stop | Mitutoyo Series 103 (103-177); Starrett 436.1XRL-1; Anytime Tools on a budget | Mitutoyo QuantuMike digital $192.02 (CNCCookbook) |
| First months | Edge finder | Locates the work edge relative to the spindle | Haimer 3D Sensor at the top end | $408.46 (CNCCookbook) |
| First months | Dial indicator and magnetic base | Hands-free mounting | Federal indicators (Penn Tool); Noga stand; Mighty Mag base | Noga stand $84.95; Mighty Mag $17.90 (CNCCookbook) |
| First months | 1-2-3 blocks | A matched set of four (Make It From Metal) | No model named | Not given |
| Can wait | Test indicator, bore gauges, gauge blocks | Bought for a specific job | Interapid half-thou test indicator | $184.69 test indicator; dial bore gages $109.95 to $750 (CNCCookbook) |
| Storage | Machinist's chest | Lockable (Machinist Guides) | Kennedy | $501 (CNCCookbook) |
Day one, in detail. Of the day-one tools, the caliper is the one to spend on. Make It From Metal singles out 8 inch calipers as the tool most likely to decide daily work quality. On digital versus dial, Machinist Guides lays out the tradeoff plainly. Digital models are cheap (around $25) and read instantly. Dial models have no electronics but need regular cleaning and read slower. Verniers are slowest of all but stay reliable if kept up. If you buy a dial caliper, members of a Practical Machinist forum thread from April 2026 advise .100 inch per revolution over .200, because the finer face is harder to misread. The buy-once pick with published specs is the Mitutoyo 500-196-30: made in Japan, ±0.001 inch, and a rated five-year battery life. Machinist Guides' verdict on the two big names is "Starrett for your analog measuring tools and Mitutoyo for your digital options." That is one reviewer's opinion, not a measurement.
The brief for this page also calls for a 6 inch rule, a scribe and a center punch. None of the sources here names a model, a spec or a price for any of them. Make It From Metal's advice on the rule is about skill rather than hardware: "Always make sure that you're able to read fractions before setting foot in any machine shop." Practical Machinist has a separate, video-based piece on everyday hand tools for new machinists (April 10, 2026). It deliberately leaves out measuring and setup gear, so it is the better source for the non-measuring half of a first box.
First months. The micrometer comes next. Penn Tool credits Mitutoyo's outside micrometers with simple scales and a ratchet stop for dependable readings. The Practical Machinist forum recommends the Mitutoyo Series 103 as a starter. Make It From Metal recommends starting with three dial indicators, which is more than most beginners expect. Penn Tool pairs Federal indicators with a magnetic base. The Federal brand was retired in 2017 when Mahr Federal became Mahr Inc. (source), so look for those indicators under Mahr Inc. today, though Penn Tool's pairing was written about the Federal line rather than current Mahr models. The base is what makes an indicator usable on a machine. The magnetic base spread in CNCCookbook's list runs from $17.90 to $84.95. That is a large spread for a magnet, and none of the sources measures what the extra money buys.
What can wait. Gauge blocks, gauge pins, telescoping and dial bore gauges, and dial test indicators are all real tools. They are the second tier because they answer questions a beginner is not yet being asked. They are covered in measuring tools machinists overlook.
-
Anti-fog safety glasses
Make It From Metal lists them as standard PPE. No price in the sources.
-
A steel rule you can read in fractions
No model or price in the sources.
-
A 6 or 8 inch caliper
About $25 entry digital (Machinist Guides) to $115.20 for a Mitutoyo 6 inch (CNCCookbook).
-
A deburring tool
Noga, $11 per CNCCookbook.
-
A set of files
Make It From Metal's set runs from mill bastard to needle files. No price in the sources.
-
Somewhere to keep it
Machinist Guides recommends a lockable box. CNCCookbook lists a Kennedy chest at $501, which is more than the rest of this list combined, and it can wait.
First job: check a part and trust the number
Buying the kit is not the first result. The first result is taking a measurement you would stake a part on. With the day-one tools and any scrap of round bar, it goes like this.
- Read the rule. Lay the steel rule along the bar and read the length in fractions. You should be able to state it to the nearest graduation without counting ticks from zero. If you cannot yet, stop here, because Make It From Metal treats this as the price of admission to a shop.
- Clean the caliper jaws. Wipe both measuring faces. You should see no chips or oil film on either face when you hold them to the light.
- Zero it. Close the jaws gently and zero the display or dial. The reading should sit at zero, open and close to zero again, and return to zero. Penn Tool's maintenance advice is exactly this: "keep your caliper clean and zero it routinely."
- Measure the bar in three places. Take the outside diameter near each end and in the middle, square to the axis, with the same light pressure each time. Write the three numbers down. They should agree closely. If one is out on its own, the bar is not round or straight there, or you rocked the jaws.
- Deburr the cut end. Run the Noga tool around the sawn edge. You should feel a smooth chamfer with no wire edge catching a fingernail.
- Measure the end again. Take the reading at the end you just deburred. If it has dropped, the burr was reading as part size, and you have just seen why deburring comes before inspection.
When those six steps give you three consistent numbers and a clean edge, you have done the thing the rest of the kit exists to extend. The micrometer does steps 2 to 4 to a finer resolution. The indicator does them on a part that is still in the machine.
Four ways beginners go wrong
Buying the set instead of the tools. The sign is a fitted case holding instruments you have never opened. The forum consensus in the Practical Machinist thread favors fewer, better tools over large cheap sets that need early replacement. Practical Machinist's own measurement guide warns that it is easy to buy too many. The fix is to buy against the tolerance on the print in front of you, not against a list.
Misreading a dial caliper. The sign is a part that is off by a whole revolution of the needle, while the reading looked right when you took it. Forum members tie this to .200 inch per revolution dials and recommend .100. If you already own a .200 dial, cross-check against the bar scale on every reading until the habit sets.
Storing the micrometer closed. The sign is a micrometer that no longer zeroes, or measuring faces that look marked. Make It From Metal: "Never store micrometers with the jaws closed all the way, especially if they're not carbide tipped." Back the spindle off before it goes in the drawer. Keep the instrument in the condition Jonathan calls pristine, because it is the one you will use to settle arguments.
Overpaying for used. Used precision tools are a sound way in. The failure is paying close to new money for something with an unknown history. CNCCookbook's rule is to "limit yourself to paying half what the best new price you find elsewhere is." Check the used instrument zeroes and reads consistently before you pay, using the same steps as the first job above.
Where the money goes next
With a caliper you trust, the next result is a micrometer reading that agrees with it on the same bar, to the caliper's rating. After that comes an indicator on a magnetic base, sweeping the same bar in a vise or chuck. Each step checks the one before it with a finer tool.
Budget for it honestly. CNCCookbook puts a full basic machinist tool set bought new, all at once, at over $1,800, which is the strongest argument in this piece for buying in order.
The cost of the other half of the trade, the machinist cutting tools themselves, is moving for reasons that have nothing to do with the shop. A June 1, 2026 presidential proclamation, effective June 8, 2026, kept a 25% base additional duty on covered steel, aluminum and copper derivative goods through December 31, 2027. Its derivative coverage can reach HTS Chapter 82, which is tools, depending on metal content. Separately, JPT's 2026 cost analysis reports that the Rotterdam APT (tungsten) benchmark rose roughly 900% over 12 months to above $3,100 per metric ton unit by spring 2026. It also reports cobalt, the binder in carbide, up about 160% since early 2025. JPT is a toolmaker explaining its own price rises, so read it as the supplier's case. None of the sources here measures what any of this has done to the shelf price of a caliper or micrometer, and that remains unknown. The pressure is documented on carbide, which is where a beginner's second wave of spending usually goes.
When you get there, choosing carbide end mills covers flute count, coatings and helix for common shop materials. For the processes those tools serve, see the breakdown of core CNC machining techniques.
Measuring kit sorted, cutting tools next
Flute count, coatings and helix angles for solid carbide end mills in common shop materials.
Carbide end mill guide
Comments
No comments yet. Be the first to comment!
Leave a Comment